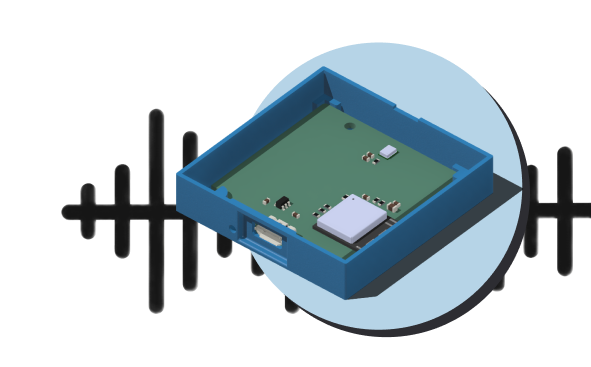
Small, simple and subtle
We designed the tRacket sensor to do only what we needed: measure sound levels, and save them online
What it needs:
- USB power
- A wifi network to get online
- To be firmly attached in a secure place

How it’s different from other sound level meters

Permanent installation, to collect long-term data about noise. Suitable for places with access to power and wifi.

Affordable, for people who may want to install one at their home.

A citizen science experiment: it is not a scientific device or a consumer electronic device. It is simple and safe, but not as accurate as a high-end device.
Availability
tRacket sensors are not currently available. A limited number of sensors are currently in beta testing.
Enter your email address below to receive updates, including when sensors are available:
Privacy
All sound data collected by tRacket sensors is shared publicly on the dashboard. Your identity is never published, and the sensor location is imprecise to protect privacy.
The sensor uses a microphone to detect sound. It never records sound. Review the Privacy Policy.
Sensor support
Will tRacket and the tRacket sensor meet my needs?
Here are things you should know to determine if tRacket is right for you:
- tRacket is created and run by volunteers, with a limited ability to provide support. If you’re uncomfortable with technology, you may want to find someone who can help you with it.
- All data from sensors is shared on the public dashboard. This can’t be turned off. You can reduce the precision and accuracy of your sensor’s location on the map. Your identity is never published.
- tRacket sensors need to be connected to the internet through a wifi network, and need to be plugged in for power through USB.
- The sensor is designed for fixed, permanent installation in a single location. It is not designed to be frequently moved around. It should be securely attached in place (for example with screws, cable ties, or adhesive).
- The sensor should be installed outside, in a place where it won’t be overly exposed to rain or wind. Ideally, under an overhang, on a balcony, etc.
- You will need to provide your own micro-USB cable and USB power supply. These are easily available, and you may already have them in a drawer somewhere!
Setup instructions
Hardware setup:
- Decide where to put the sensor
- The sensor should be on the exterior of your home. You may want to face it in the direction of the most persistent source of noise.
- Try to pick a location where it’s not likely to get knocked, or especially exposed to rain, snow or wind. And where there’s a power outlet nearby
- The easiest place to put it might be in a window, like between the window and bug screen.
- You can attach the sensor using screws, cable ties, or foam tape.
- Make sure to install it with the cable connector facing down.
- Figure out how long of a cable you need
- Decide how you’ll run the cable from the power outlet to the device. Plan to run it along edges, corners or walls, where it’ll be less visible, and not in the way.
- Measure how long a cable you’ll need, then add a little extra. Common USB cable lengths are (in feet) 3′, 6′, 10′, 20′, 30′. USB cables longer than 30 feet are not recommended.
- Install the cable and plug in the device
- Use cable ties and mounts to secure the cable in place.
- Plug in the device to a USB charger.
Software setup:
- Once the sensor is plugged in, use your computer or phone to connect to the wifi network called “tRacket_Setup”, using the password “noise123”.
- In your browser you’ll see a form to fill in your wifi login info and email address. (You may need to select “Sign into network” for the browser to open.) Be sure to enter your exact Wifi network name and password.
- The sensor will try to connect to the wifi and internet. If it’s unsuccessful, it will ask you to try again. If it’s successful, you’ll soon receive an email confirming that the sensor is online, and with a link to log in to the sensor manager.
- Log in to the sensor manager to specify the sensor location.